Add Guestrooms
Allow your guests to view all room types so that they can pick the best fit based on their personal preferences.
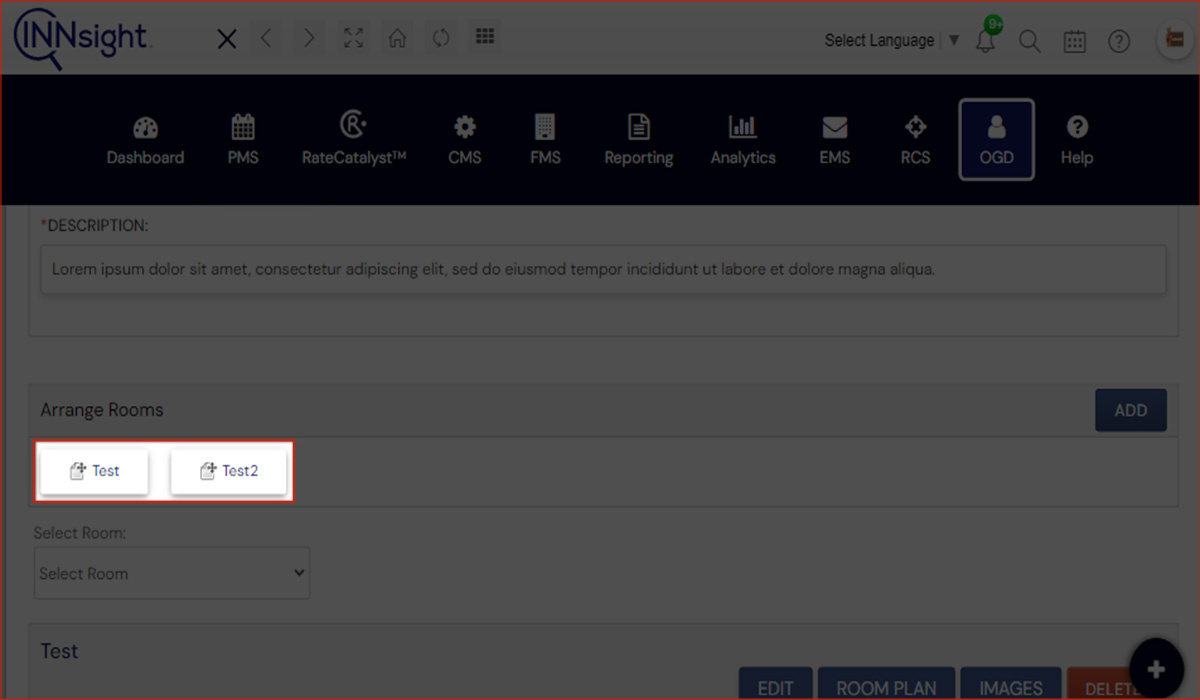
1. Arrange Rooms:
- Click on the "Arrange Rooms" button to manage the order of room types.
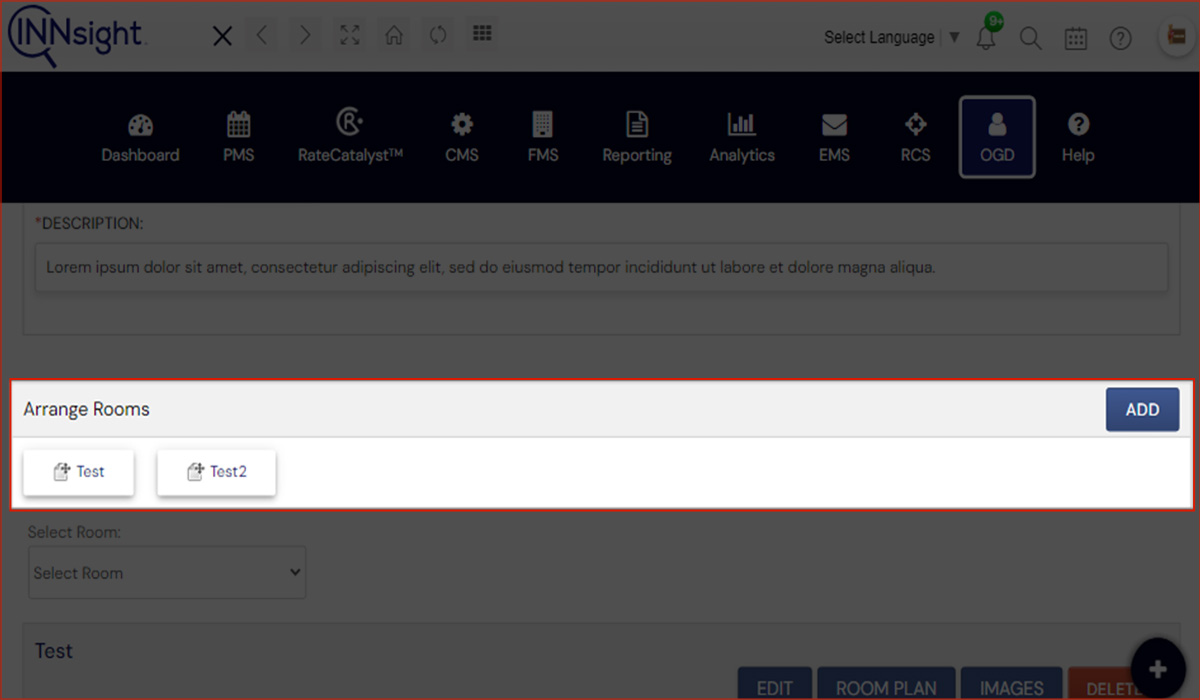
- Drag and drop to rearrange the room types according to your preference.
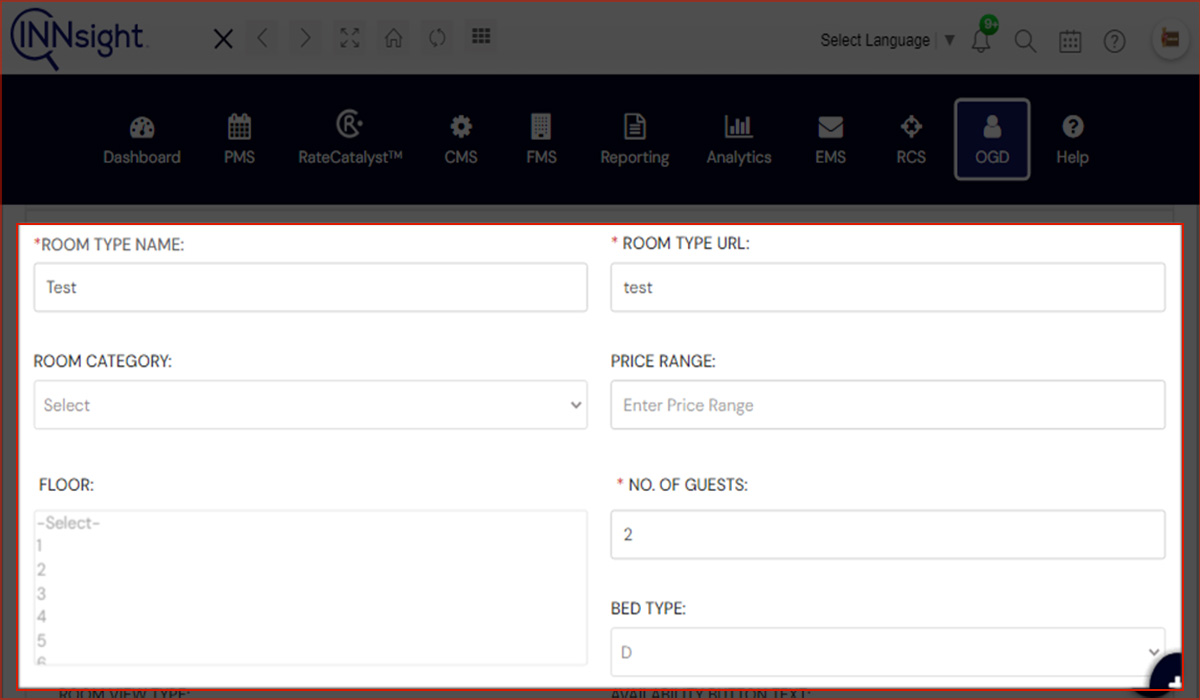
2. Room Type Details:
- Select a specific room type from the list.
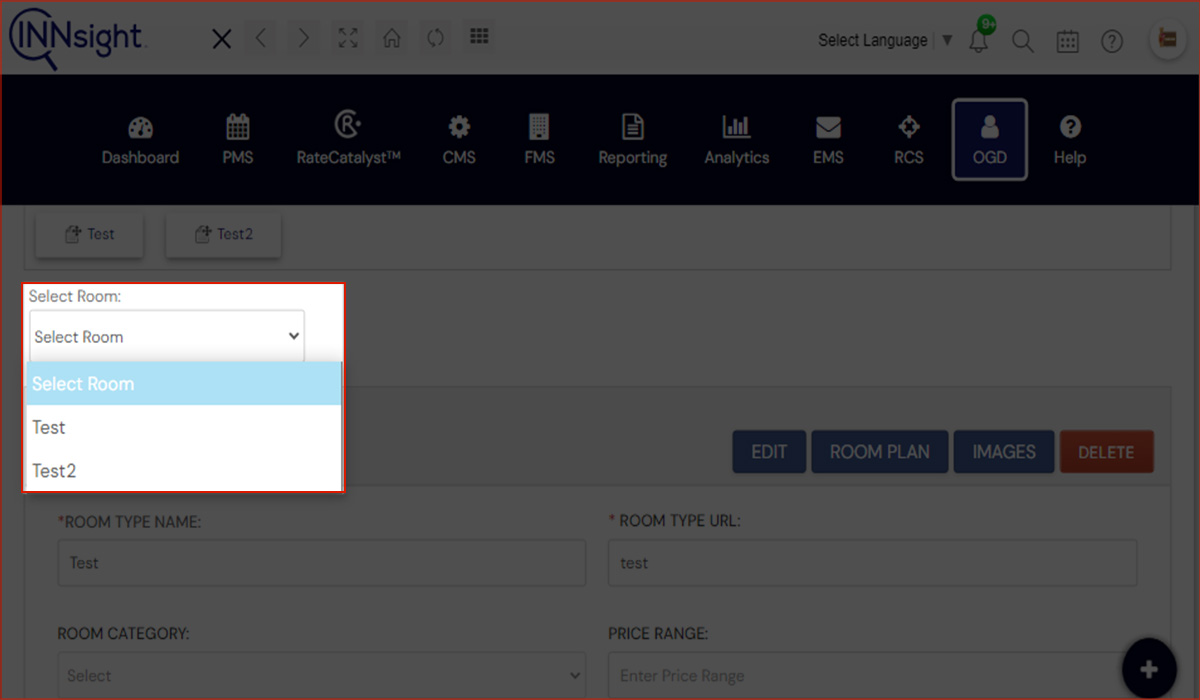
- Fill in the following details:
- Room Type Name (QWF): Enter the name of the room type.
- Room Type URL (QWF): Provide a URL for the room type.
- Room Category: Categorize the room type (e.g., Guest Rooms).
- Price Range: Set the price range for the room.
- Floor: Choose the floor from the options.
- No. of Guests: Specify the maximum number of guests.
- Bed Type: Select the bed type (e.g., KQ).
- Room View Type: Choose the view type (e.g., Bay view).
- Availability Button Text: Enter the text for the availability button.
- Availability Button URL: Add the URL for availability.
- Room Size: Specify the size in square meters and square feet.
- Extra Bed Config: Indicate if additional beds are available.
- View: Select the room view (e.g., PPP view).
- Display on Standalone: Decide whether to display on standalone.
- ADA Accessible Guest Room, Smoking, Pet Friendly (Choose Yes or No for each)
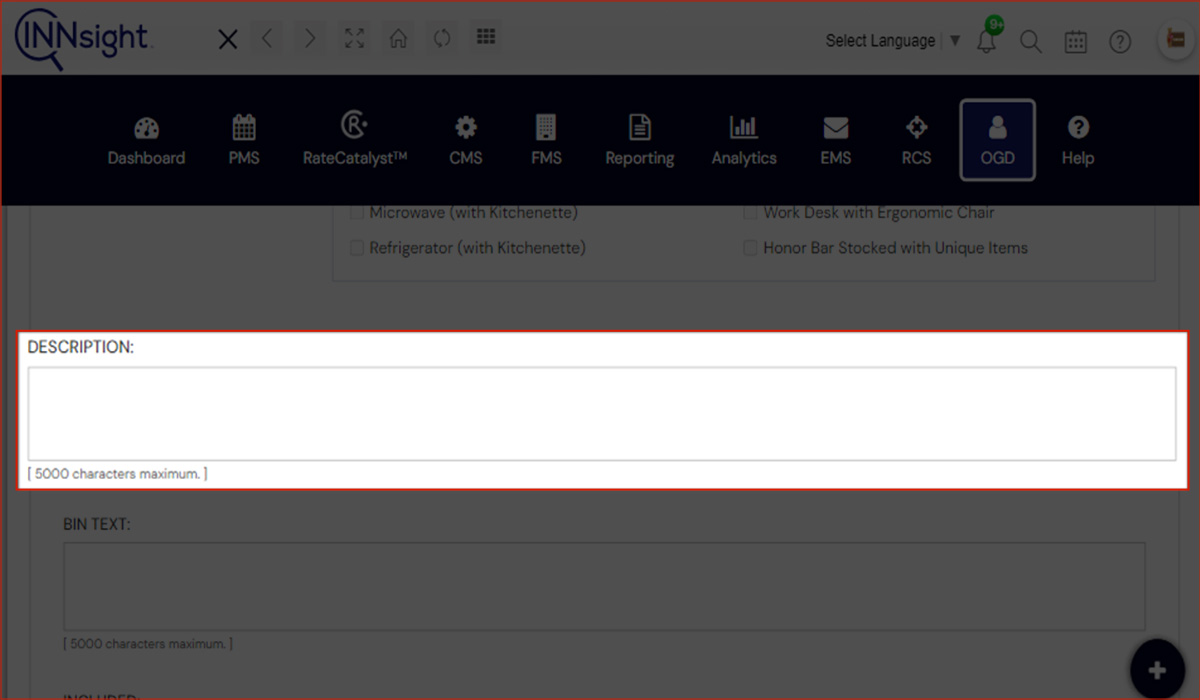
3. Room Description:
- In the "Description" section:
- Provide a brief room description (5000 characters maximum).
- Enter additional details in the "BIN TEXT" field (5000 characters maximum).
- Add information under "INCLUDED" (200 characters maximum) and "NOT INCLUDED" (200 characters maximum).
- Insert 3D Virtual Tour XML and URL if applicable.
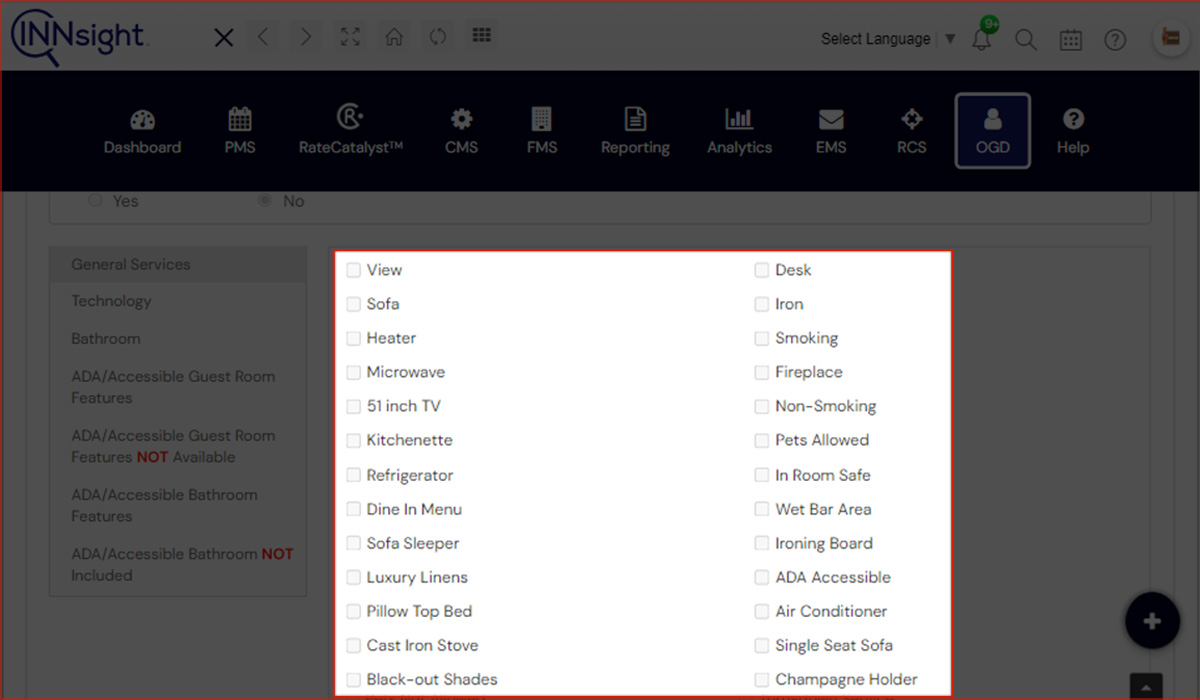
4. Room Custom Amenities:
- Add custom amenities specific to the room.
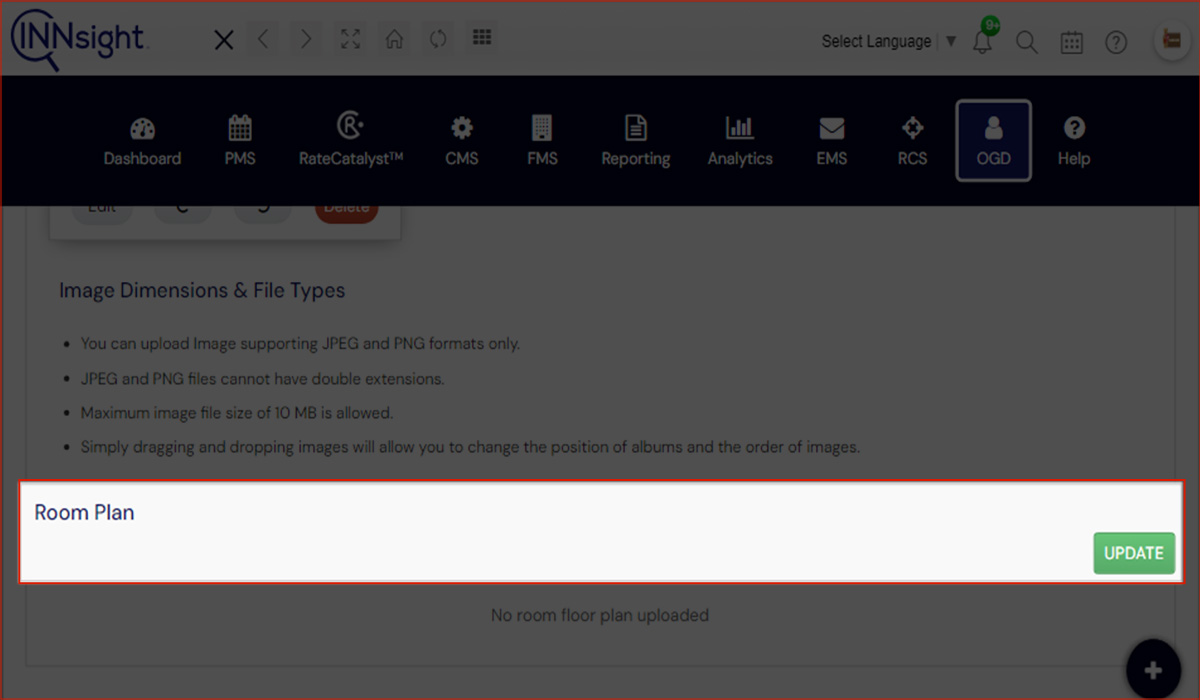
5. Room Images:
- Upload images supporting JPEG and PNG formats (maximum size: 10 MB).
- Drag and drop images to change their position.
6. Room Plan:
- If available, upload a room floor plan.
- Ensure that all changes are saved after editing each section.